As you may have seen, some of my blog posts contain screenshots from within Raspbian. Here's how I've taken those screenshots.
First (if you haven't already) you need to install imagemagick, to do this, open a terminal window by clicking on the LXTerminal icon on the desktop:
![]()
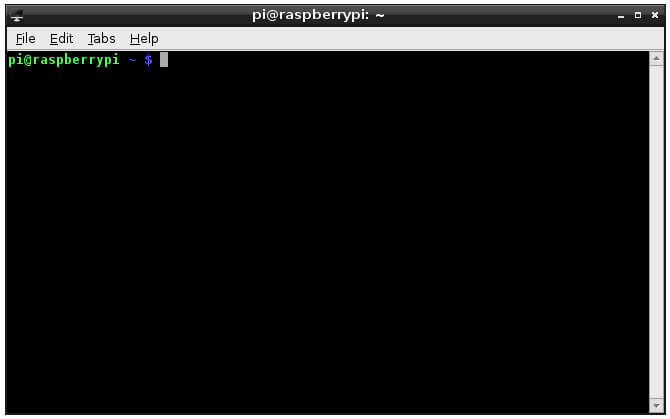
This will open a terminal window which will look something like the following:
You then need to run the apt-get command to install imagemagick:
sudo apt-get install imagemagickWhen the installation is completed, you can take a screenshot by typing the following into the terminal window:
DISPLAY=":0.0"; export DISPLAY; import -window root filename.pngThis will take a screenshot of the current screen and save it into you home folder as filename.png.
You will find, that this will only take a screenshot of the currently active window. Any other windows will appear as black boxes in the image. To get around this we need to delay the taking of the screenshot to allow you to activate the window you want a shot of. Using the following command will delay the screenshot by five seconds:
sleep 5; DISPLAY=":0.0"; export DISPLAY; import -window root filename.pngThis means you can type this into the terminal window, press return. Then click in the window you want a screenshot of and wait for five seconds. The image will then contain a screenshot of the active window when the five seconds is up.
